Learn how to install and set up Apache Tomcat 8 on Oracle Linux 8 with step-by-step instructions for a smooth deployment and configuration.
Apache Tomcat is a commonly used open-source Java servlet container for deploying Java-based web applications. If you are a system administrator, system engineer, or software developer who wants to install and setup Apache Tomcat 8 on an Oracle Linux 8 server, you read the correct article. This article will show you the steps on how to install Apache Tomcat 8 on Oracle Linux 8 with basic configuration and default port 8080.

Pre-requisites for installing Apache Tomcat 8 on Oracle Linux 8
Before installing Apache Tomcat 8 on Oracle Linux 8, make sure that your system meets the following requirements:
1. Update the system by running the following command. To ensure oracle Linux 8 is installed and up-to-date with the latest patches:
# sudo dnf update
2. Install the Java Development Kit (JDK) by running the following command. To ensure Java Development Kit (JDK) 8 or later is installed on the system:
# sudo dnf install java-devel
3. Once Java is installed, you can verify the Java version using the following command:
# java -version
You will get the following output:
openjdk version "1.8.0_362"
OpenJDK Runtime Environment (build 1.8.0_362-b09)
OpenJDK 64-Bit Server VM (build 25.362-b09, mixed mode)
Downloading and installing Apache Tomcat 8 on Oracle Linux 8
4. Download the Apache Tomcat 8 distribution from the official website (https://tomcat.apache.org/download-80.cgi) or use the following command to download it from the terminal:
# wget https://archive.apache.org/dist/tomcat/tomcat-8/v8.5.71/bin/apache-tomcat-8.5.71.tar.gz
5. Extract the downloaded contents of the tar.gz file to the /opt directory::
# sudo tar xvzf apache-tomcat-8.5.71.tar.gz -C /opt
This will extract the Tomcat distribution to the “/opt” directory.
6. Rename the extracted directory to a more meaningful name, such as “tomcat8”:
# sudo mv /opt/apache-tomcat-8.5.71 /opt/tomcat8
Configuring Apache Tomcat 8
7. Create a new user and group for the Tomcat service:
# sudo groupadd tomcat
# sudo useradd -g tomcat -d /opt/tomcat8 -s /sbin/nologin tomcat
8. Give ownership of the Tomcat directory to the tomcat user and group:
# sudo chown -R tomcat:tomcat /opt/tomcat8
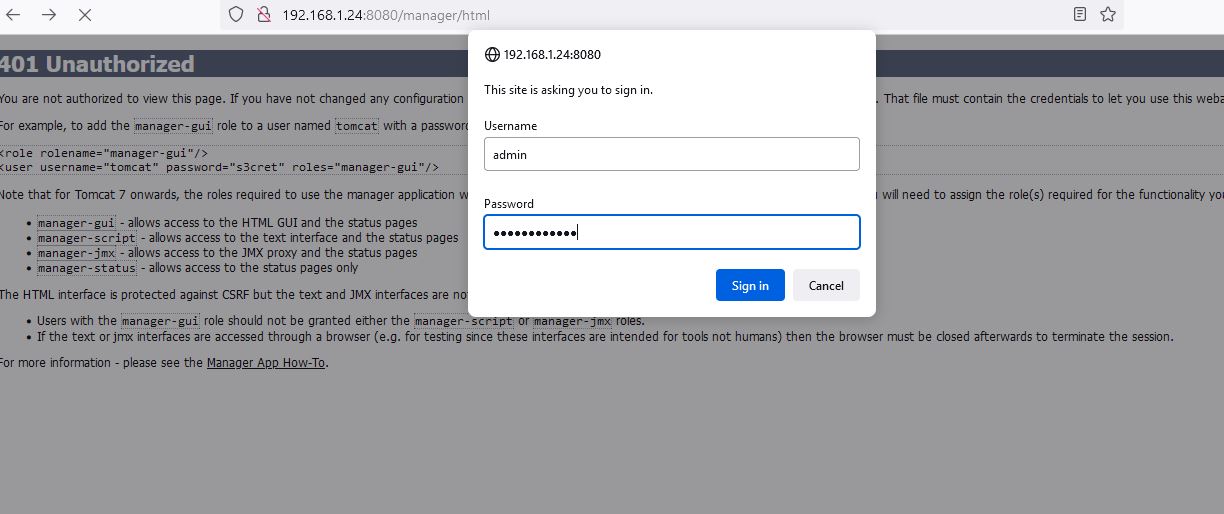
9. Create a Tomcat Administrative User
a. Open the tomcat-users.xml file located in the conf directory of your Tomcat installation:
# sudo vi /opt/tomcat8/conf/tomcat-users.xml
Add the following :
<user username="admin" password="tomcat@admin" roles="manager-gui"/>
Save and close the file
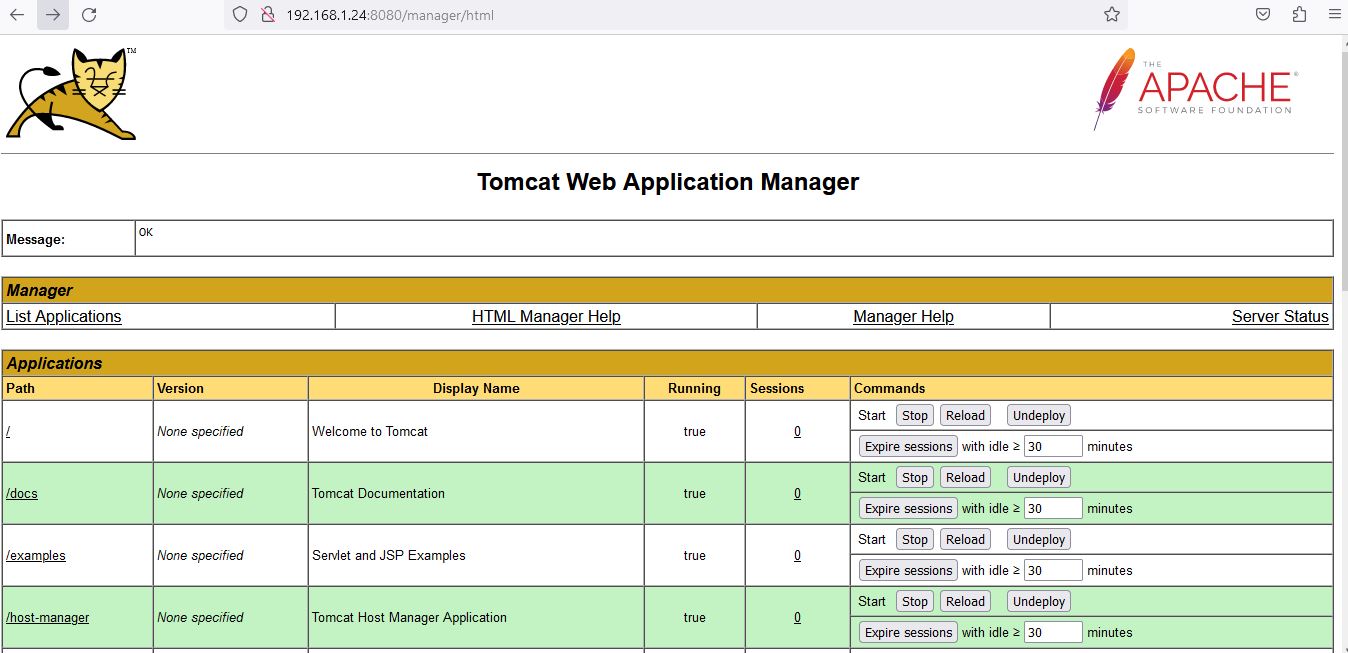
b. To allow the Manager App and Host Manager App from the remote host, edit the context.xml file:
# sudo vi /opt/tomcat8/webapps/manager/META-INF/context.xml
Remove the following :
<Valve className="org.apache.catalina.valves.RemoteAddrValve"
         allow="127.d+.d+.d+|::1|0:0:0:0:0:0:0:1" />
Save and close the file
# sudo vi /opt/tomcat8/webapps/host-manager/META-INF/context.xml
Remove the following :
<Valve className="org.apache.catalina.valves.RemoteAddrValve"
         allow="127.d+.d+.d+|::1|0:0:0:0:0:0:0:1" />
Save and close the file
10. Create a new systemd service file for each instance or application to enable automatic startup and shutdown:
sudo vi /etc/systemd/system/tomcat.service
[Unit]
Description=Apache Tomcat Server
After=syslog.target network.target

[Service]
Type=forking
Environment=JAVA_HOME=/usr/lib/jvm/java-1.8.0-openjdk
Environment=CATALINA_PID=/opt/tomcat8/temp/tomcat.pid
Environment=CATALINA_HOME=/opt/tomcat8
Environment=CATALINA_BASE=/opt/tomcat8
ExecStart=/opt/tomcat8/bin/startup.sh
ExecStop=/opt/tomcat8/bin/shutdown.sh
User=tomcat
Group=tomcat
UMask=0007
RestartSec=10
Restart=always

[Install]
WantedBy=multi-user.target
11. Start the Tomcat service and enable it to start at system reboot:
# sudo systemctl enable tomcat
# sudo systemctl start tomcat
12. Verify the status of the Tomcat service with the following command:
# sudo systemctl status tomcat
You will get the following output:
● tomcat.service - Apache Tomcat Server
   Loaded: loaded (/etc/systemd/system/tomcat.service; enabled; vendor preset: disabled)
   Active: active (running) since Mon 2023-02-20 00:52:54 +08; 2min 5s ago
 Main PID: 28022 (java)
    Tasks: 28 (limit: 23060)
   Memory: 94.8M
   CGroup: /system.slice/tomcat.service
           └─28022 /usr/lib/jvm/java-1.8.0-openjdk/bin/java -Djava.util.logging.config.file=/opt/tomcat8/conf/l>

Feb 20 00:52:54 oraclelinux.linodelinux.com systemd[1]: Starting Apache Tomcat Server...
Feb 20 00:52:54 oraclelinux.linodelinux.com systemd[1]: Started Apache Tomcat Server.
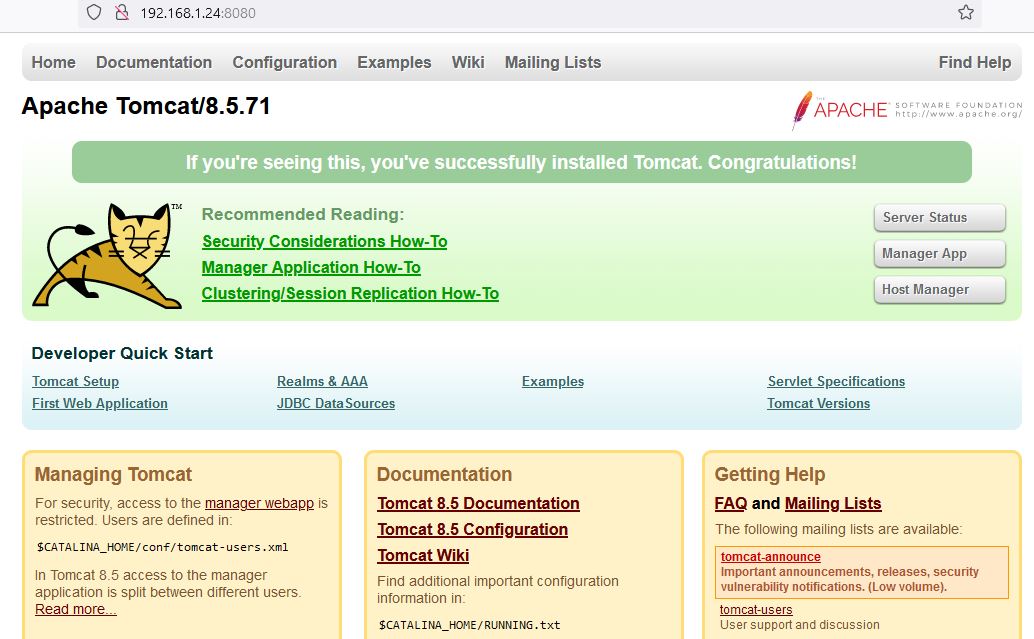
13. Access Apache Tomcat Web UI
Apache Tomcat is started and listening on port 8080. Open your web browser and access the Tomcat web UI using the URL http://your-server-ip:8080.
Conclusion :
Installing and setting up Apache Tomcat 8 on an Oracle Linux 8 system is a straightforward process that can be accomplished in just a few steps. By following the steps outlined in this blog, system administrators and software developers can easily install Tomcat, configure and create administrative user accounts to manage the server. With a basic understanding of the concepts covered in this guide, you should be well equipped to get started with Tomcat and expand your knowledge as needed.
Overall, Apache Tomcat 8 is a powerful web server that provides a robust platform for running Java-based web applications. With its ease of installation and configuration, Tomcat is an excellent choice for developers and system administrators looking to deploy web applications on Oracle Linux 8 systems.