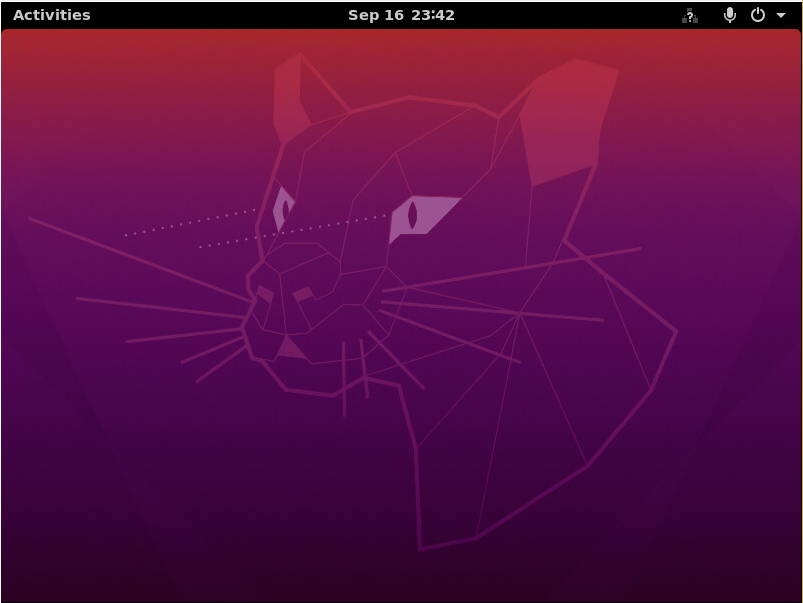
Learn how to install a desktop GUI on Ubuntu Server with this step-by-step guide. Enhance usability with GNOME, Xfce, or LXDE environments.
Ubuntu Server is renowned for its efficiency and performance, primarily due to its command-line interface (CLI). However, there are scenarios where a Graphical User Interface (GUI) can enhance usability, especially for users who prefer visual interactions or require specific desktop applications. This guide will walk you through the reasons for installing a GUI on an Ubuntu Server and provide a step-by-step installation process.

Why Install a GUI on Ubuntu Server?
While the CLI offers robust control and consumes fewer system resources, a GUI can be beneficial in several situations:
- User-Friendly Interface: A GUI provides intuitive navigation, making it easier for users unfamiliar with command-line operations.
- Application Accessibility: Certain applications are designed for desktop environments and may not have CLI equivalents.
- Remote Desktop Access: A GUI facilitates remote management through desktop sharing tools, enhancing administrative tasks.
Things to Consider Before Installing a GUI
- System Resources: GUIs consume significantly more CPU, memory, and disk space than a CLI-only setup. Make sure your server has enough resources.
- Security: A GUI increases the potential attack surface. Always ensure proper security measures, such as firewalls, strong passwords, and regular updates.
- Compatibility: Check that your desired desktop environment is compatible with the version of Ubuntu Server you are using.
Step-by-Step Guide to Installing a GUI on Ubuntu Server
This guide will show you how to install a desktop graphical interface (GUI) on your Ubuntu server.
1. Update the Package Lists :
Begin by updating your package lists to ensure you have the latest information:
# sudo apt update && sudo apt upgrade
2. Install the Desktop Environment
Ubuntu offers various desktop environments. One of the most popular is GNOME, which is the default for Ubuntu Desktop. To install GNOME, execute:
# sudo apt install ubuntu-desktop
3. Configure the Display Manager
During installation, you might be prompted to select a display manager. The display manager handles user logins and starts the graphical session.
- gdm3: The default GNOME Display Manager.
- lightdm: A lightweight alternative.
Choose the one that best fits your needs.
4. Reboot the System.
After installation, reboot your server to apply the changes:
# sudo reboot
5. Access the Desktop GUI
After rebooting, you will see a graphical login screen. Enter your username and password to log in to the desktop environment.

Tips for Managing a GUI on a Server
1. Disable the GUI When Not in Use: To save resources, you can disable the GUI and switch back to the CLI when it’s not needed.
sudo systemctl set-default multi-user.target
To re-enable the GUI:
sudo systemctl set-default graphical.target
2. Secure Remote Access: If you’re using the GUI for remote access, ensure tools like VNC or RDP are secured with encryption and strong passwords.
3. Uninstall the GUI If Needed: If you decide the GUI isn’t required, you can uninstall it to free up resources:
sudo apt remove ubuntu-desktop -y
sudo apt autoremove -y
Conclusion
Installing a desktop GUI on an Ubuntu Server can improve user-friendliness and enable graphical applications. However, it’s crucial to weigh the benefits against the increased resource usage and security risks. With the steps outlined above, you can choose and set up the best desktop environment for your needs while ensuring your server remains functional and secure.